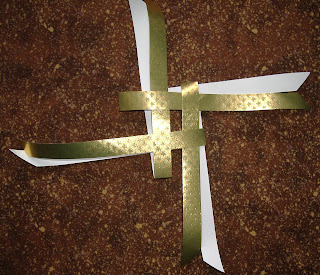
Recently I was made aware of a blog that showed how to make a
folded fabric star. This reminded me of
the paper stars I used to fold. It has
been SO long since I made one, I had to go back to my favorite craft book,
which I received as a child, Wir Spielen und Basteln.
The best paper to use is metallic gift wrap with the color on
one side and plain white on the other.
These instructions create a very small star – like about 2 inches
square. Increasing the size and length
of strips will create a larger star.
Each step has the same numbered picture with it
2) Put the folded strips together into a basket weave by tucking the folded edge between the ends on the next strip. The fourth strip will have to have its ends fed through the first loop.
3) On one side only, fold each successive strip straight across from its current position. Again the last strip will have to be fed through the beginning pocket that was formed. Snug this together into a nice square. (picture doesn’t show this).
4) Making the star points: Fold a strip diagonally under itself into a point. Fold the strip diagonally on top and down to finish a triangle. Fold the halves together towards the star middle. Bend the point back so you can feed the end into the pocket at the point’s base. Do this at all four corners. Flip the star over and repeat with the strips on the other side.
5) Making the center cone points. Take a strip end, turn it under at the center and around to outside, then feed the end into the pocket 90° of the beginning. The color of the cone is the same as the other side of the star – so keep that color one top all the way around (note the arrow I drew to show how to turn this strip). The end will come out of the star point. You can use a pencil point to ensure you get a nice round cone. You may have to trim the strip width a bit, if it doesn’t want to slide easily – otherwise you may tear the strip. Do for all four strips and then turn the star over and repeat for those strips.
6) Trim the ends flush with the star points. Pull a thread through the fold of one of the star points and tie a loop for hanging.


No comments:
Post a Comment